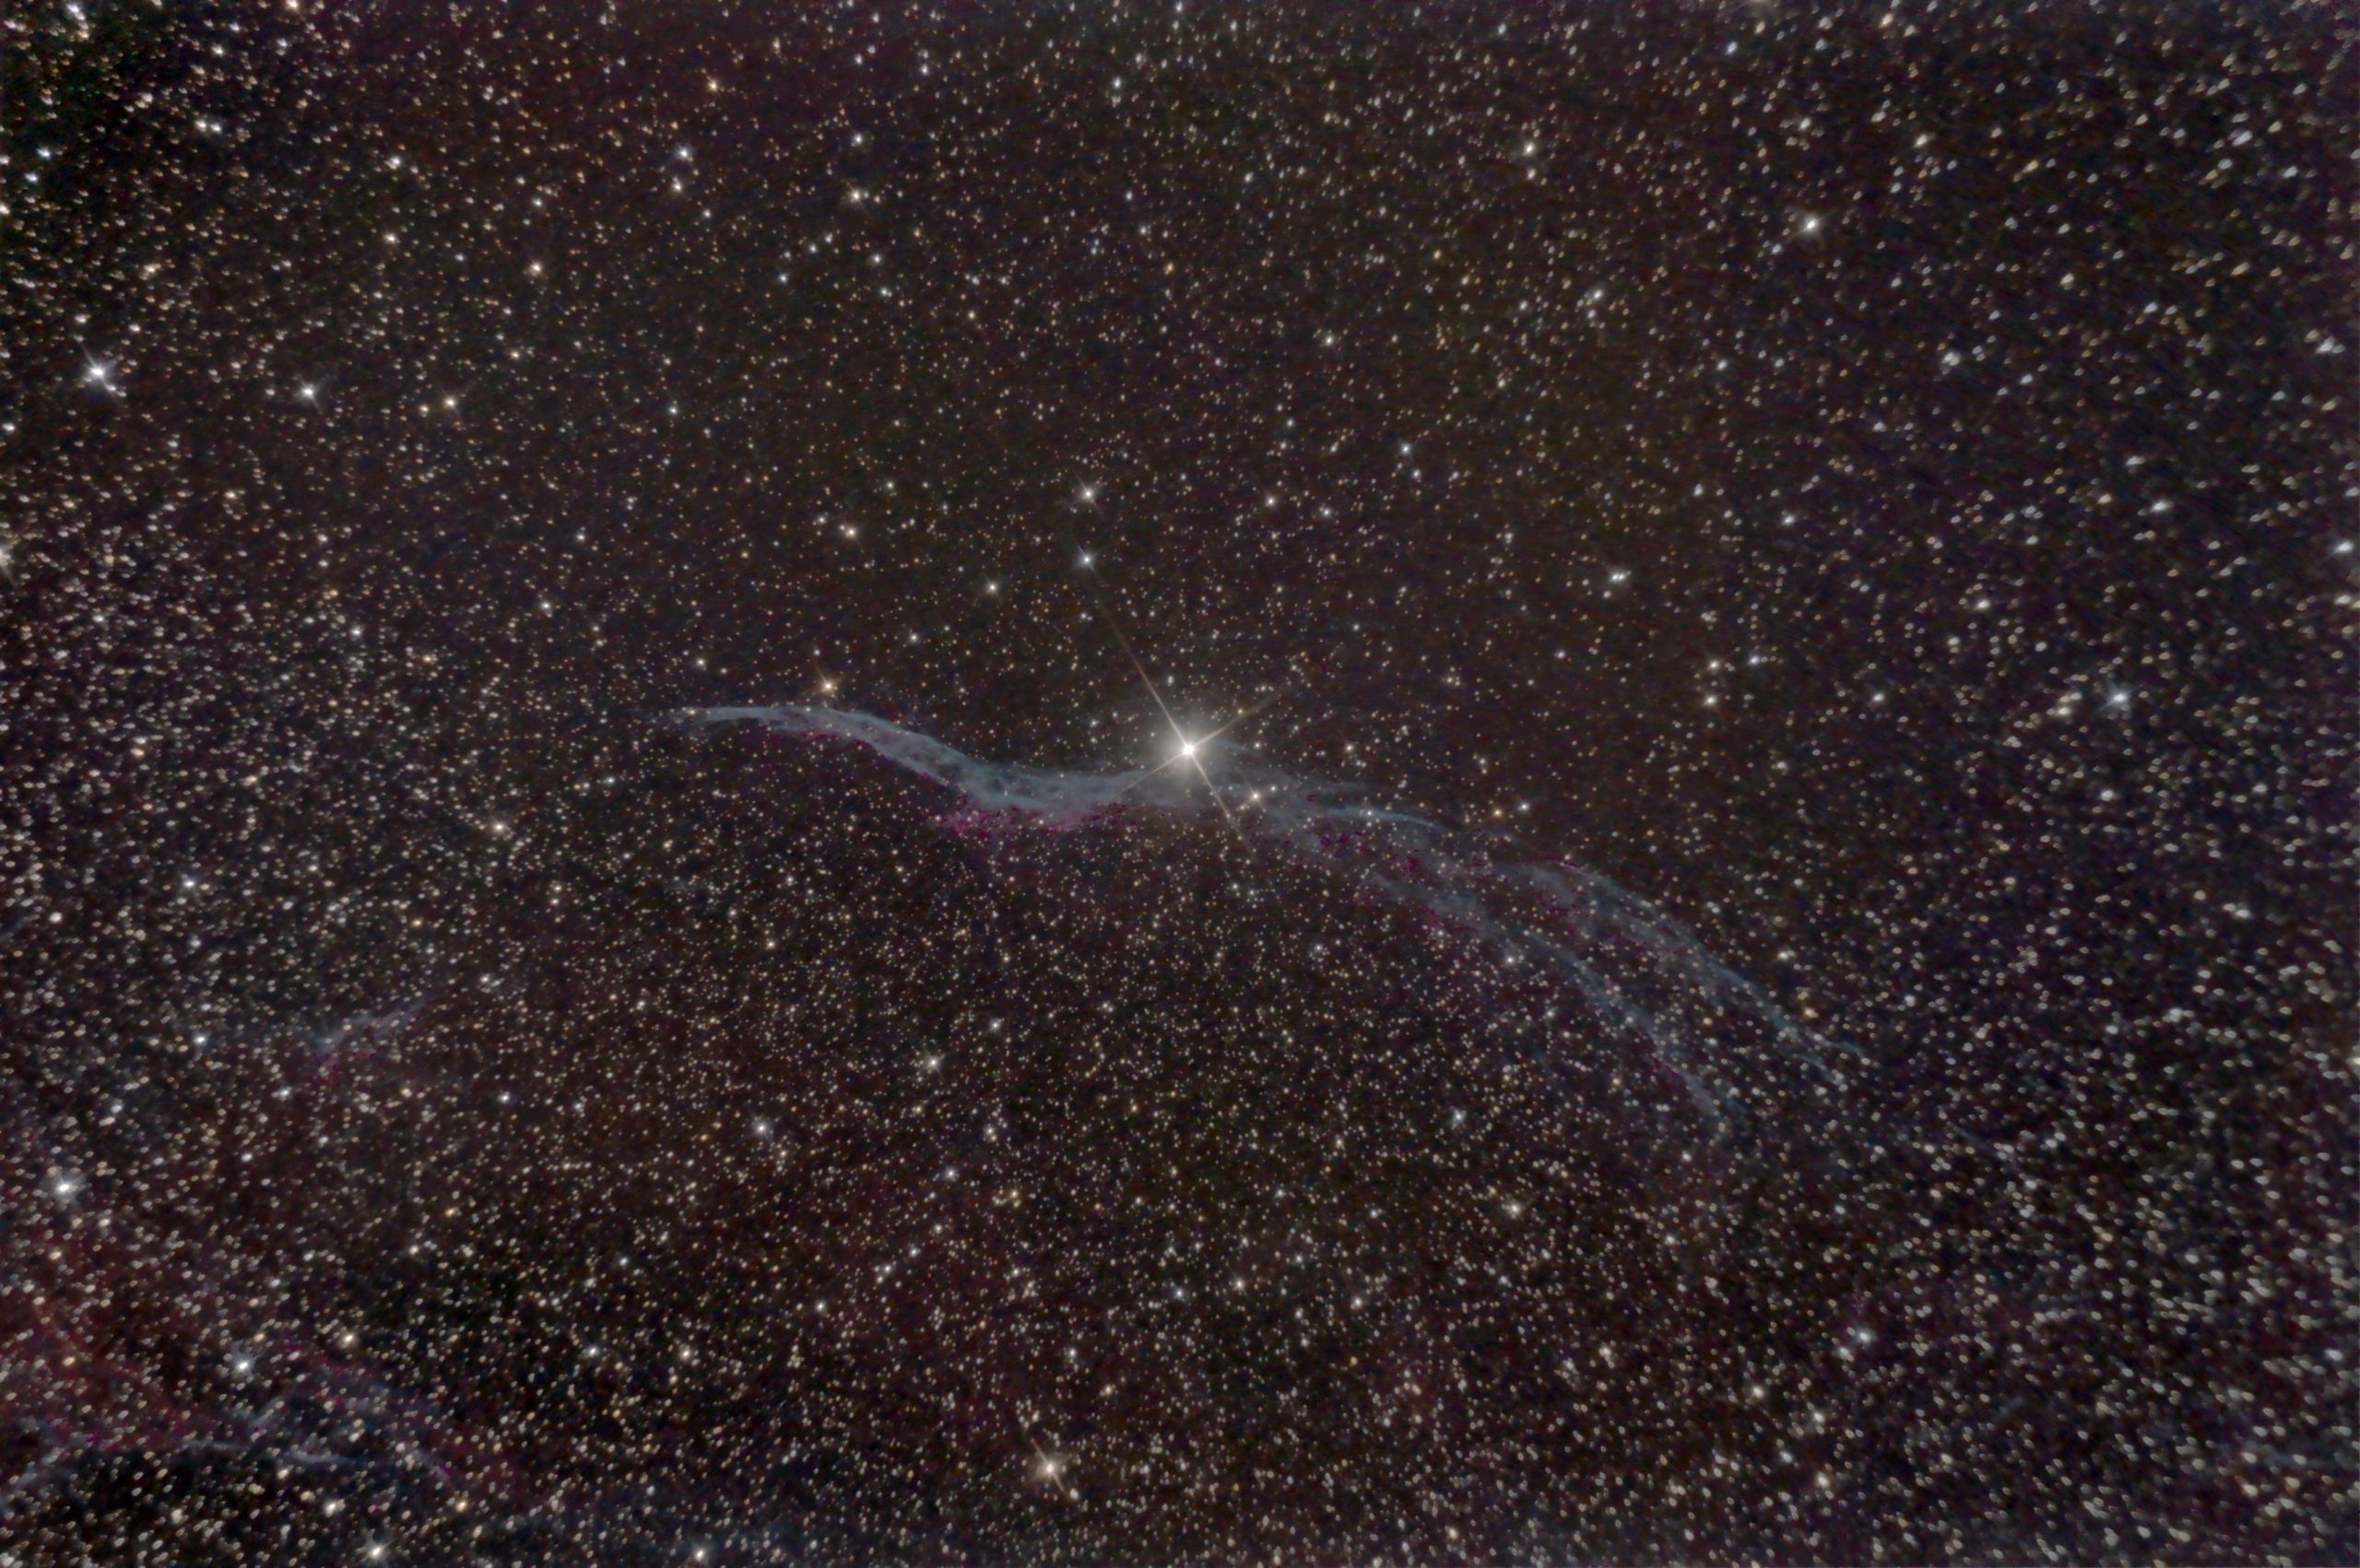
Unlike with traditional photography when we are imaging the night sky there isn’t much light hitting the sensor of your camera. We overcome this by taking multiple images (subs) of our target and then take calibration frames to reduce noice and vignetting. It’s not quite as simple as point and shoot!
So what are these different frames that are taken?
Lights
These are the main image files with your star data in them. You will want to take as many of these as possible to ensure you have plenty of detail in your final image. Depending on the camera used you will either have one set of lights or multiple sets spanning different light wavelengths using filters.
Darks
These are images taken as soon as you have finished taking captures of your target. They are taken with the same settings as your light frames but you put the lens cap on the end of the camera/telescope. These frames are then combined using magic and fairy dust inside your chosen stacking software. This removes any amp glow from your camera sensor so they need to be taken at a similar temperature to your light frames.
Flats
These are my least favourite images to take as they are a little bit move involved to capture. These images remove any vignetting from your frames. There are multiple methods to capture flat frames but my chosen method is to get a white t-shirt and hang it over the end of the telescope and then get a text editor open on my laptop and hold it up to the end of the telescope. You are basically looking to create a flat white image although when the settings are correct it will look like a pale purple.
Bias
As far as I know bias frames are used to get rid of further noise on your sensor. These are taken with the lens cap on and at the shortest possible exposure length. These images will remove any broken or hot pixels form your camera sensor. I have 2 dead pixels on my current camera and using bias frames removes these from my final images.
All these different frames are then combined together and aligned. I use Deep Sky Stacker to handle all of this for me. One day I will sit down and work out what each of the frames does and that may well make up a more detailed post but for now this will do…
So as you can see it’s not quite as simple as pointing your telescope to the skies, getting it focussed and taking a picture! These images take time to build up to get the true colour and detail out of the object you are targeting! This does however give you a much bigger sense of accomplishment when you get your final image!
Hope you have enjoyed this post and let me know if you want to know more about this or anything else and I’ll do my best to cover it!
Clear Skies!